Philips Disco duro externo Manual do Utilizador
Consulte online ou descarregue Manual do Utilizador para Acessórios de comunicações Philips Disco duro externo. Philips Disco duro externo User Manual Manual do Utilizador
- Página / 68
- Índice
- MARCADORES
- Contents 2
- Inhaltsverzeichnis 2
- Table des matières 2
- Sommario 2
- Contenido 3
- İçindekiler 3
- How to connect this external 5
- (USB installation) 5
- (Firewire installation) 9
- UK D F I 13
- How to quick format the 15
- How to format the 19
- How to use the One-Click 25
- Backup button ? 25
- How to use the Safe 31
- Shutdown button? 31
- How to create a backup? 33
- How to restore a backup? 39
- How to defragment 43
- How to check the external 47
- Specifications 52
- Spezifikationen 54
- AVERTISSEMENT 55
- Caractéristiques techniques 56
- ATTENZIONE 57
- Specifiche tecniche 58
- Technische gegevens 60
- Garantía,Entorno y Seguridad 61
- Especificaciones 62
- Teknik Özellikler 64
Resumo do Conteúdo
How to... for External Hard Disk Drive Install GuideInstallationsanleitungGuide d'installationGuida d'installazioneInstallatiegidsGuía de in
10Search for an empty Firewire port on your newexternal HDD.Suchen Sie einen freien Firewire-Anschluss anIhrer neuen externen Festplatte.Cherchez un p
11A drive icon appears for the external HDD inWindows Explorer; the name of the drive varies,depending on your computer system. You can saveand copy d
12How to install the external harddiskfor Windows 98 Second Edition only?Follow the next steps:1. Insert the Nero Disc and browse to the directory “Ph
How to safely disconnect the externalharddisk without shutting down yoursystem?Sicheres Entfernen der externe Festplatteohne Herunterfahren Ihres Syst
14To disconnect the external HDD withoutshutting down your computer, click on this symbol.Klicken Sie auf dieses Symbol, um die Festplatteohne Herunte
How to quick format the external harddisk?Schnellformatieren der externe FestplatteComment formater rapidement le disque dur externe?Come formattare r
16In Windows Explorer right click the externalHDD.Im Windows Explorer rechtsklicken Sie auf derexternen Philips Festplatte.Dans l’Explorateur de Windo
17When this popup appears, you have to click"OK". Please be aware that all the data that is on thedrive will be lost.Sobald dieses Popup-Fen
How to format the external harddisk?Formatieren der externe FestplatteComment formater le disque dur externe ?Come formattare l'unità disco rigid
ContentsHow to connect this external harddisk on your system? (USB installation) 5How to connect this external harddisk on your system? (Firewire inst
20Choose "Start".Wählen Sie "Start".Choisissez "Start" (Démarrer).Scegliere "Start".Kies "Start".Eli
21Choose "Administrative Tools".Wählen Sie "Administrative Tools" (Verwaltung).Choisissez "Administrative Tools"(Outils
22Right click on "Unallocated" hard disk.Rechtsklicken Sie auf die "Unallocated" (nichtzugeordnete) Festplatte.Cliquez avec le bou
23Accept "Primary partition" by clicking "Next".Bestätigen Sie "Primary partition" (PrimärePartition), indem Sie auf &qu
24Choose the file system (default is NTFS) andgive the disk a name under "Volume label" and click"Next".Wählen Sie das Dateisystem
How to use the One-ClickBackup button ? So wird die Schaltfläche „Sicherungskopie per Mausklick“ verwendet Comment utiliser le bouton One-Click Backup
26If you push the One-Click Backup button for thefirst time after installation of the NERO software thefollowing screen will appear: Wenn Sie auf die S
27First select the files and folders you want tomake a backup of and the hit the Next button.Markieren Sie erst die Dateien und Ordner, vondenen eine S
286Check if you have chosen the right target (yourexternal Philips Harddisk) afterwards click the nextbutton. Kontrollieren Sie, ob Sie das richtigeZi
29Select the correct target path and backup namethen press the next button. Wählen Sie den richtigen Zielpfad und Namenfür die Sicherungskopie. Klicke
Come usare il pulsante One-Click Backup 25Come usare il pulsante Safe Shutdown 31Come eseguire un backup 33Come ripristinare un backup 39Come defram
If this screen appears you know that you haveadded successfully a new job to the backitup wizard. Wenn dieser Bildschirm angezeigt wird, wissenSie, da
How to use the SafeShutdown button? So wird die Schaltfläche „Sicheres Abschalten“ verwendet Comment utiliser le bouton Safe Shutdown ? Come usare il p
32Push the Safe Shutdown button.Klicken Sie auf die Schaltfläche „SicheresAbschalten“.Appuyez sur le bouton Safe Shutdown.Premere il pulsante Safe Shut
How to create a backup?Erstellen einer SicherungskopieComment créer une sauvegarde ?Come eseguire un backupHoe moet u een backup maken?¿Cómo crear un
34Click on the "BackItUp" icon to start the NeroBackItUp application.Klicken Sie auf das Symbol "BackItUp", um dieNero BackItUp So
35The Backup Wizard appears. Click the "Next"button.Der Sicherungsassistent wird angezeigt.Klicken Sie auf die Schaltfläche "Next"
36Select the target where you would like to saveyour backup on. Then click "Next".Wählen Sie den Zielordner aus, in den dieSicherungskopie g
37The next screen is a summary. Check everythingis correct and then click on the "Backup" button.The backup process will start; this can tak
How to restore a backup?Wiederherstellen einer SicherungskopieComment restaurer une sauvegarde ?Come ripristinare un backupHoe moet u een backup terug
4012The Nero Restore Wizard appears.Click on "Next".Der Nero Restore Wizard (Wiederherstellungs-assistent) wird angezeigt. Klicken Sie auf &
41Select the file source and restore path.Click "Next".Wählen Sie die Dateiquelle und stellen Sie denPfad wieder her. Klicken Sie auf "
42Click on "Restore".Klicken Sie auf "Restore" (Wiederherstellen).Cliquez sur "Restore" (Restauration).Cliccare su "
How to defragmentDefragmentierenComment défragmenter ?Come deframmentareHoe moet u defragmenteren?¿Cómo desfragmentar?birleştirme şekli?The next pages
44In Windows Explorer right click on the driveletter of your Philips external HDD.Im Windows Explorer rechtsklicken Sie auf demLaufwerkbuchstaben Ihre
45Click "Defragment Now...".Klicken Sie auf "Defragment Now..."(Jetzt defragmentieren...")Cliquez sur "Defragment Now..
How to check the externalharddisk disk for errors?Überprüfen der externe Festplatte auf FehlerComment vérifier si le disque dur externe comporte des er
48In Windows Explorer right click on the driveletter of your Philips external HDD.Im Windows Explorer rechtsklicken Sie auf demLaufwerkbuchstaben Ihre
49Click "Check Now...".Klicken Sie auf "Check Now..." (Jetzt überprüfen...).Cliquez sur "Check Now..." (Vérifier maintena
How to connect this externalharddisk on your system? (USB installation)Anschließen des externe Festplatte an Ihr System (USB-Installation)Comment racc
50The message that appears tells you that the nexttime you boot there will be a check disk for yourattached external HDD. Be sure to let your devicepl
51How to find warranty information?1Insert the Nero disc again, and click "Exit".2Click on the "My Computer" icon on your desktop o
5252Although this product has been designed with utmost care for long-lasting performance, Philips doesadvice you to handle electronics with good care
53Wie findet man Garantie-Informationen?1Legen Sie die Nero Disk wieder ein und klicken Sie auf "Exit".2Klicken Sie auf das Symbol "My C
54Technische Daten:Aufnahmemedien: 3,5" HDDSchnittstelle: USB 2.0 und FireWire 400Speicherkapazität: 160 / 250 GBDrehgeschwindigkeit: 7200Übertra
55Comment trouver les informations relatives à la garantie?1Réinsérez le disque Nero et cliquez sur "Quitter".2Cliquez sur l’icône "Pos
Caractéristiques techniques :Support d’enregistrement : 3,5" HDDInterface : USB 2.0 et FireWire 400Capacité : 160 / 250 GOVitesse rotationnelle :
Come si accede alle informazioni sulla garanzia memorizzate?1Inserire nuovamente il disco Nero e fare clic su "Esci".2Fare clic sull'ic
Specifiche tecnicheDispositivo di registrazione: 3,5Interfaccia: USB 2.0 e FireWire 400Capacità: 160 / 250 GBVelocità di rotazione: 7200Velocità di tra
Waar vind ik informatie over de garantie?1Leg de Nero-CD weer in de lade en klik op "Sluiten".2Klik op het bureaublad op het pictogram "
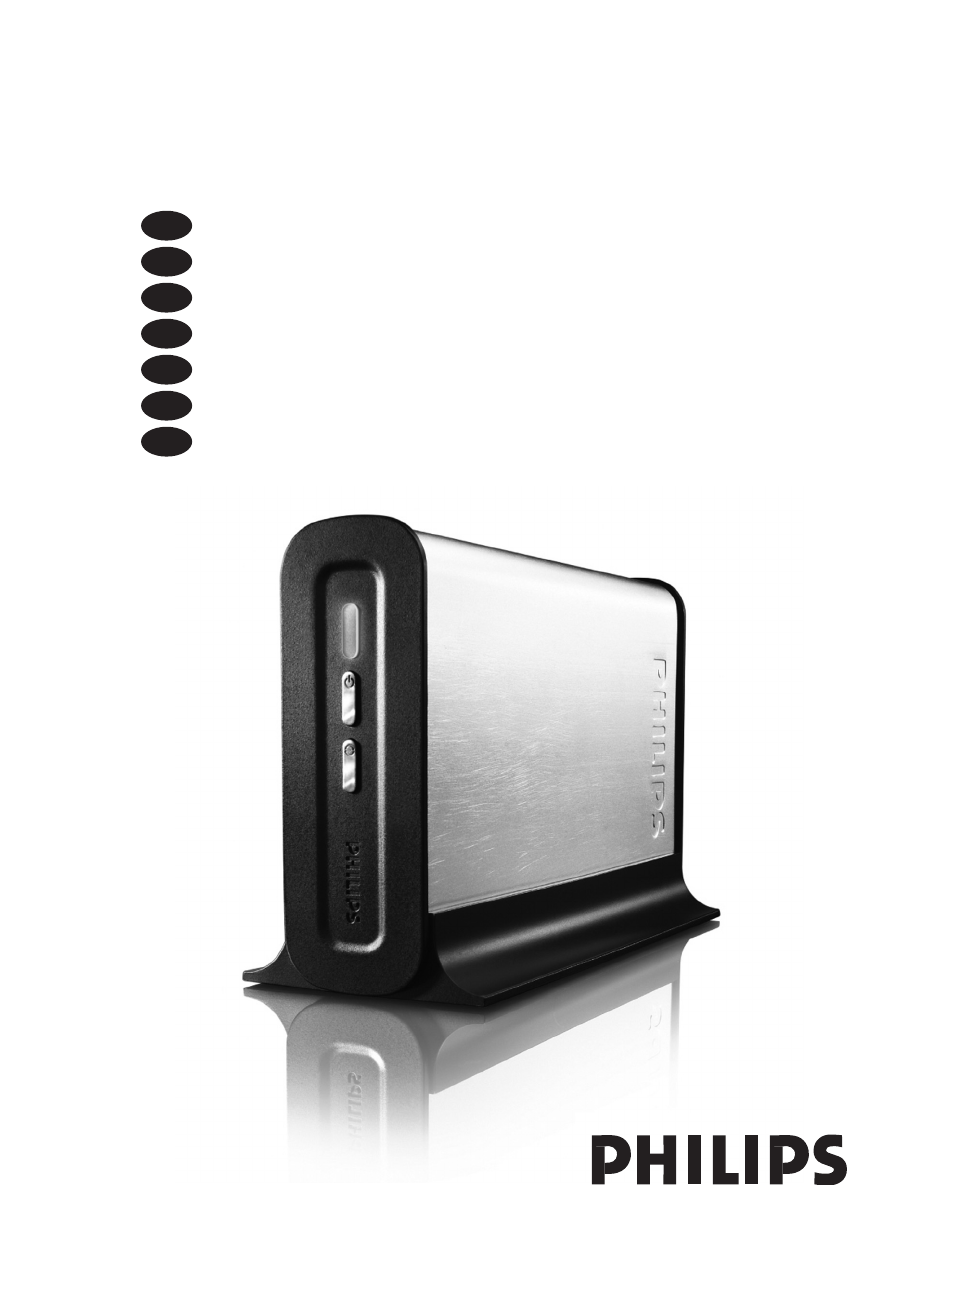
6This can be found in the box:A: Your new external HDD deviceB: Vertical StandC: Power AdapterD: Power CordE: USB cableF: Firewire cableG: How to Manu
Technische gegevens:Opslagmedia: 3,5Interface: USB 2.0 en FireWire 400Capaciteit: 160 / 250 GBDraaisnelheid: 7200Overdrachtsnelheid USB (maximum): 35M
¿Cómo encontrar información sobre la garantía?1Vuelva a colocar el disco de Nero y haga clic en "salir".2Haga clic en el icono "Mi PC&q
62Especificaciones técnicas:Soporte de grabación: 3,5Interfaz: USB 2.0 y FireWire 400Capacidad: 160 / 250 GBVelocidad de giro: 7200Velocidad de transfe
63Garanti bilgisi nasıl bulunur?1Nero diskini yeniden yerleştirip, "çık" üzerine tıklatınız.2Masaüstünüzde "Bilgisayarım" ikonu/si
64Teknik özellikler:Kayit ortamlari: 3,5" HDDArayüz:USB 2.0 ve FireWire 400Kapasite: 160 / 250 GBDönüş Hızı: 7200Aktarım hızı USB (maksimum): 35M
Notes65
Notes66
Notes67
Additional information available at our website:www.philips.com/supportSpecifications subject to change without notice.All dimensions shown are approxi
7Connect the other side of the USB cable to anempty USB port of your computer.Schließen Sie das andere Ende des USB-Kabelsan einem freien USB-Anschlus
8Insert the Nero Disc in the Drive.Legen Sie die Nero-CD in das Laufwerk ein.Insérez le disque Nero dans Drive.Inseriti il disco di Nero nell’ Drive.L
How to connect this externalharddisk on your system? (Firewire installation)Anschließen des externe Festplatte an Ihr System (Firewire-Installation)Co
Mais documentos para Acessórios de comunicações Philips Disco duro externo


Manuais e produtos relacionados com Acessórios de comunicações Philips Disco duro externo
 (2 páginas)


 (56 páginas) (32 páginas)
(42 páginas)
(2 páginas)
(56 páginas) (32 páginas)
(42 páginas)
(2 páginas)
© 2020, manymanuals-pt.com. Todos os direitos reservados. | 0.370 s |
 Manymanuals.com
 Manymanuals.de
 Manymanuals.fr
 Manymanuals.it
 Manymanuals.pl
 Manymanuals.cz
 Manymanuals.es
 Manymanuals-pt.com
Comentários a estes Manuais